
How To Import A Contact List Into MailChimp
One of the great features we offer with our commercial real estate CRM is an integration with MailChimp. However, we are frequently asked how to manually import a contact list into MailChimp. Moreover, once those contacts are imported into Mailchimp, many of you want to know how to identify them as as distinct list. This is especially useful for sending targeted email campaigns. Mailchimp accomplishes this using “tags”. Here are the simple steps to import a contact list.
The first step is to get your contacts into a spreadsheet and save it as a “CSV” file, which Excel or any other spreadsheet software can create. If you are using your ClientLook® CRM contacts, you would first do an export from ClientLook®. Pull up a group or do a search in ClientLook® to get the contact list you desire, then use the “Export” option to save them to a CSV file.

Once you have your export file from ClientLook®, delete any columns that are unnecessary. At a minimum, you want to keep the first name, last name, and email address. I have chosen in this example to also include company name. If you are manually adding data or getting it from another source, just make sure you have similar columns on your spreadsheet.

Next, go into your MailChimp account and pull up the “Audience” (formerly called a “List”) that you want to import these contacts into, then choose the “Import contacts” option from the “Manage audience” menu and click the button at the bottom right corner of the screen to go to the next step.

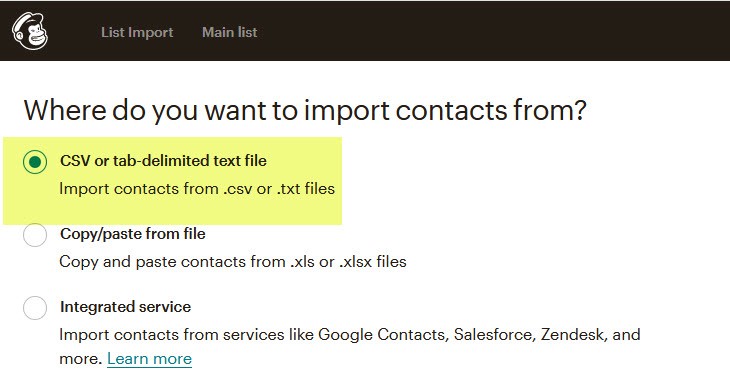
Next, select the “CSV” import option and click the same button to continue.
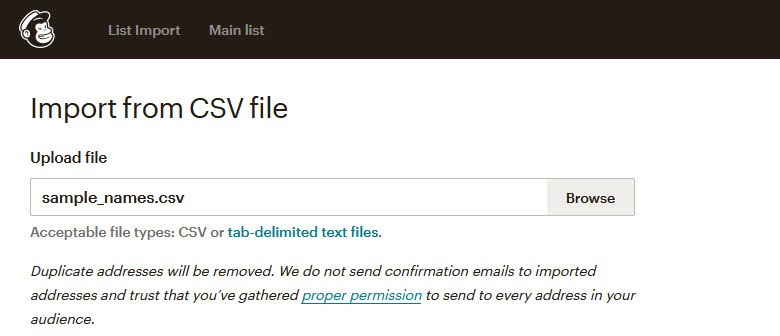
Browse to the CSV file you saved on your computer, select it, and click the button to continue.
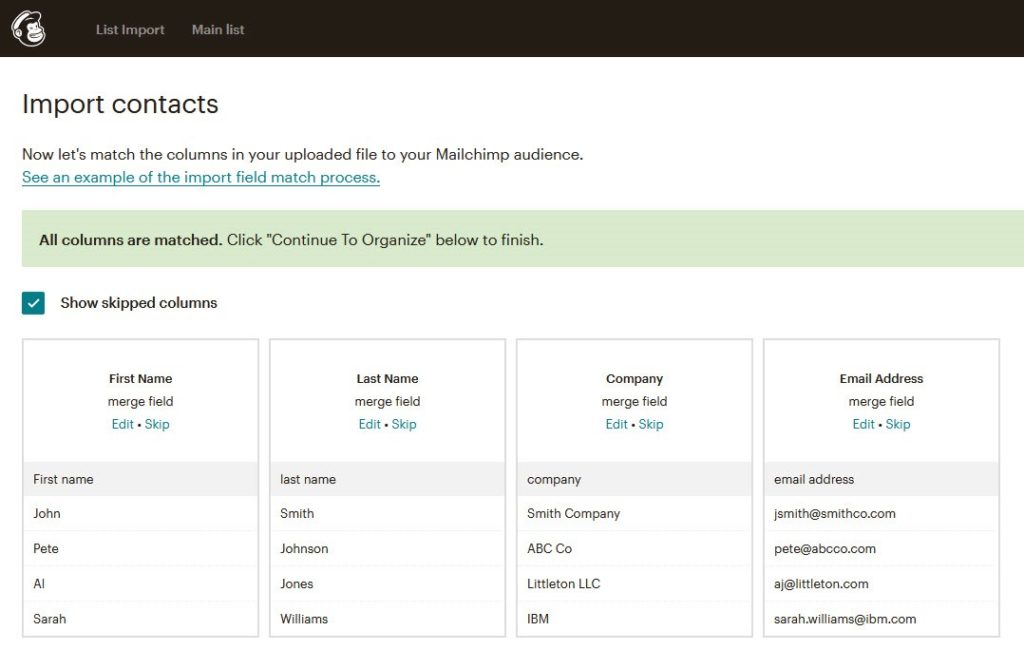
Once the list uploads to MailChimp, it will ask you to match up the column names in your spreadsheet with the field names in MailChimp. If the names of your spreadsheet columns match the MailChimp fields, it will align them for you automatically. If not, simply tell MailChimp which data point each column represents.
Next we want to create a tag. A tag is simply a keyword or phrase which identifies the group of people, such as “Industrial property owners” or “Retail prospects”. Click this button to start the process of making your tag.
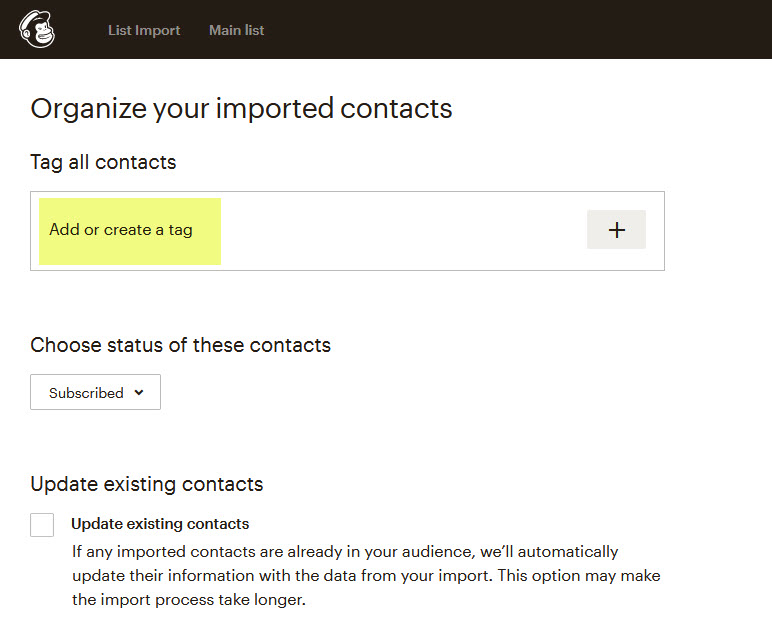
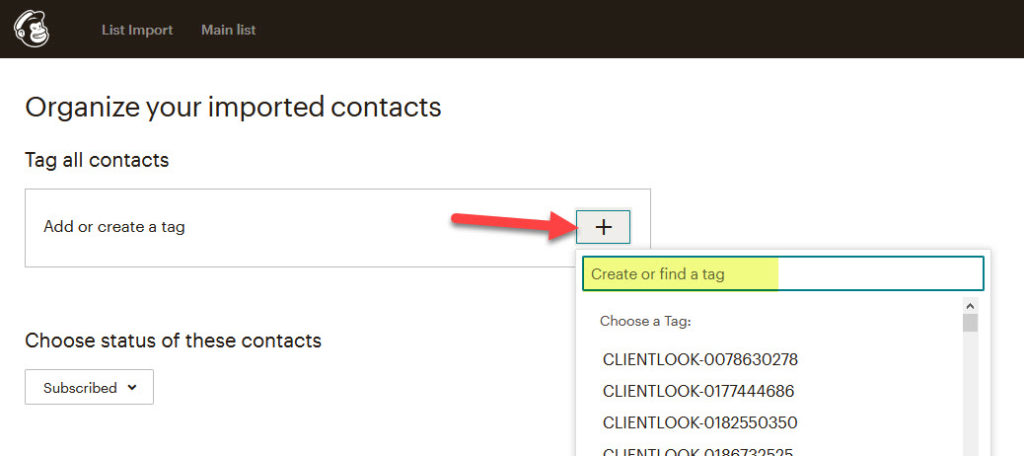
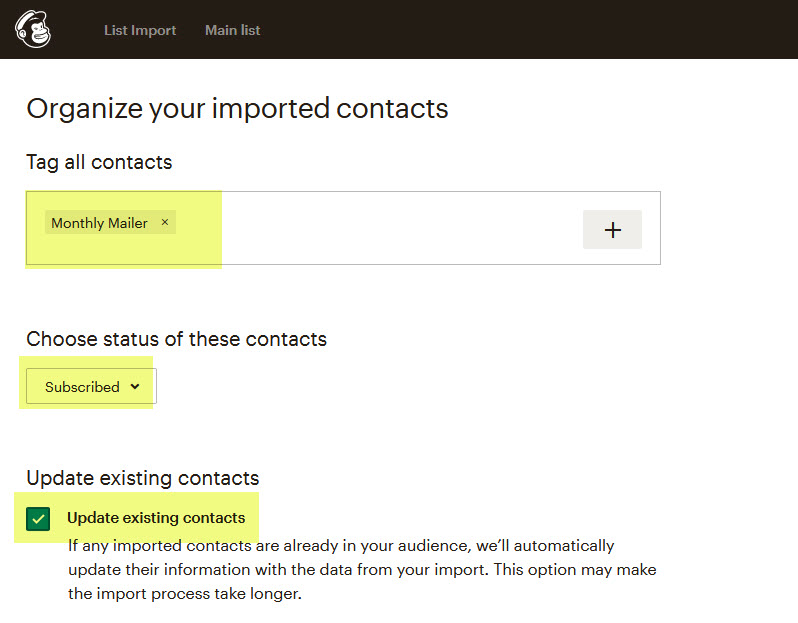
Type your new tag into the box, then click on it when it appears below the entry box. This will tell MailChimp to apply this tag to all contacts in the current import.

Select a status of “Subscribed” to add these contacts to your list as valid subscribers, and choose the option to update any which already exist in your current Mailchimp list.
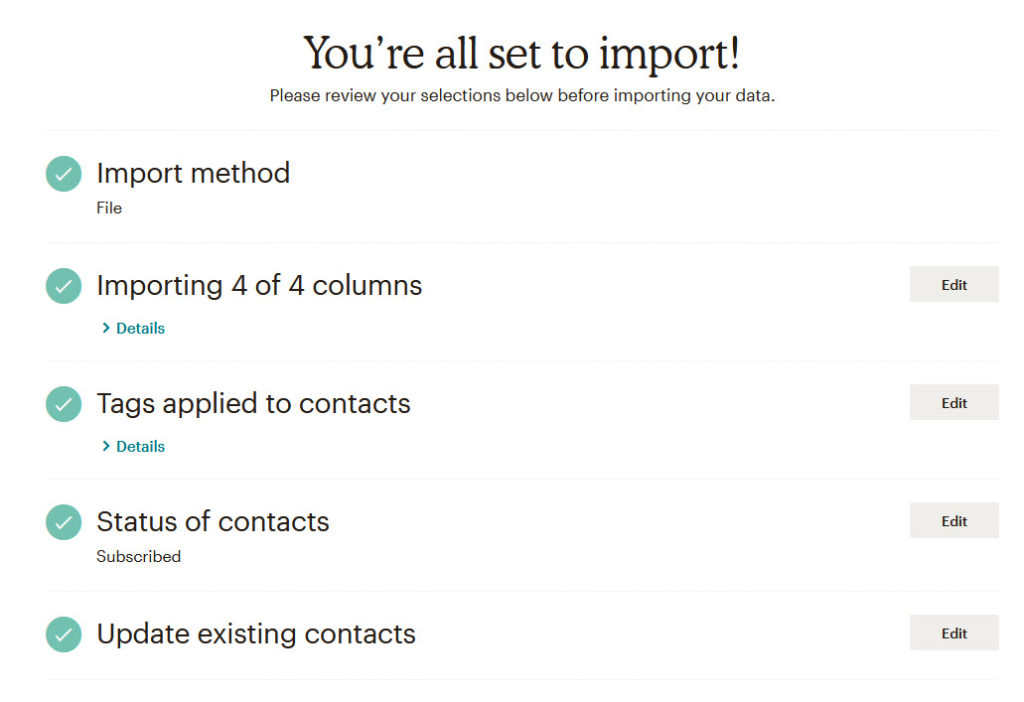
Now you’ll see a confirmation screen summarizing what you have asked the system to do. Click the button to start your import.
In just a few moments, your new contacts will be added to your current audience list. You can then send emails using that tag as the criteria when sending your email blast through MailChimp.
To learn more about our email marketing integration with MailChimp, click here. If you’re not a ClientLook® user, schedule a demo today to see how easy it can be to transform your commercial real estate business.
Already a ClientLook® subscriber? Request a free Success Audit to make sure you’re getting the most out of our features.